Your bug report says “works on my machine” and that machine is whatever your company happened to issue you. If you are a solo or freelance QA, that single machine is your entire coverage story, and it was never built for the job you’re actually doing. This is for the tester who has felt that gap firsthand, the one running exploratory sessions on a laptop that was spec’d for a developer, not a person whose entire job is finding where things break across platforms.
A proper QA testing environment setup is not a device budget problem. It’s an architecture problem. Most testers either accept whatever hardware they were handed or default to paying for a cloud device farm the moment cross platform coverage comes up. Both are fine tools. Neither is a substitute for actually understanding how to build a personal environment that covers manual testing, automation, and AI-assisted work on the hardware you already have.
Why Your Work Laptop Was Never Built for This
Companies issue hardware based on what the majority of the team needs, and that’s almost always devs and designers. QA gets whatever’s standard issue, not what QA specifically requires. That mismatch shows up in two separate ways.
The first is capability. An underpowered or older issued machine limits how many virtual machines you can realistically run at once, which matters the moment you try to cover more than one OS. The second is permission. Some issued machines won’t let you install anything at all because of MDM restrictions or missing admin rights, which means the machine you were given to do the job is actively preventing you from doing it properly.
This isn’t unique to QA. I’ve written before about the same pattern showing up during VA onboarding, where an IT requirement got imposed that had nothing to do with the actual work being asked of the person. The checklist optimizes for the wrong job every time, whether that’s a spec that’s arbitrarily too high for a spreadsheet role or a spec that’s just built for someone else’s function entirely, like a QA tester inheriting dev-tier hardware that was never configured for cross-platform coverage.
The Noise: Buy More Devices or Just Pay for a Cloud Farm
The default advice online splits into two camps, and neither one is written for a solo tester working without a company card. One camp says buy a device farm, a Windows machine, a Mac, a handful of Android phones, an old iPhone for legacy iOS. That’s real money and real shelf space for someone who isn’t running a QA department. The other camp says skip all of that and just pay for a cloud device grid, which solves real-device coverage but turns your test environment into a recurring bill regardless of whether you have client work that month.
Both are legitimate tools. Neither is a starting point. This is a different lane than the cloud and WSL based dev environment setup I’ve covered before, that piece is about toolchain portability across machines you already have access to. This one is about building the coverage itself. If you’re a freelance or solo QA, the actual foundation is a self-hosted, multi-OS lab you control, with cloud services layered on top only where they genuinely earn their place, not as a default.
Building a QA Testing Environment Setup That Actually Covers Your Stack
Think of this as four layers stacked on one machine rather than four separate tools competing for your budget.
Layer One: The Manual Coverage Lab
Skip Hyper-V. Install VirtualBox from virtualbox.org, or UTM from the Mac App Store if you’re on Apple Silicon, then install the VirtualBox Extension Pack separately, since USB and webcam passthrough don’t come with the base installer. VMware Workstation Player is worth knowing about too, it has smoother graphics performance and a nicer snapshot UI in practice, but it’s only free for personal, non-commercial use, and freelance client work is commercial use. That’s the same trap as Windows Sandbox, free until you check the fine print, so VirtualBox stays the default here since there’s no license landmine to explain to a client later.
Resource math matters here and most guides skip it entirely. If your host has 16GB RAM, allocate 4GB and 2 vCPUs per VM, which lets you run two comfortably or three if you’re lean on everything else open. If you’re on an 8GB host, plan for one VM at a time and budget your test sessions around that instead of pretending you have headroom you don’t. Give each VM 40 to 60GB of thin-provisioned disk so snapshots don’t eat your host storage the moment you take a few of them.
The snapshot discipline that actually works: install the OS, update it fully, then immediately take a snapshot named something like clean-win11-baseline before you install anything else. From that baseline, build out the scenarios you’ll actually reuse, win11-chrome-old-jp-locale, win11-edge-legacy-timezone-est, each one its own named snapshot branching off baseline. When a test session starts, revert to the relevant snapshot first, every time, so you’re never testing on a state that’s been quietly drifting since last week.
Windows Sandbox looks like the free built-in answer until you check the fine print. It only runs on Windows 11 Pro or Enterprise, which means it’s “free” only after you’ve already paid for a license tier that unlocks it. VirtualBox is free on any host, Home edition included, with no license tier standing between you and a working lab, and the same snapshot discipline applies whether you’re testing Linux distributions in the same tool or accounting for browser engine differences across your snapshots, since two “same OS” VMs can still disagree depending on what’s rendering the page.
For mobile, open Android Studio’s AVD Manager and create a separate virtual device for each API level you need to cover, don’t rely on one AVD and assume it represents your whole Android range. On Xcode, Simulator lives under Window > Devices and Simulators, if you have access to it. Know its real limits before you trust it: there’s no live camera feed, push notifications need the APNs sandbox workaround to test properly, and Face ID has to be triggered manually through the simulator’s Features menu rather than behaving like a real sensor. Building this kind of matrix on purpose is what actually deals with device and OS fragmentation instead of just hoping your one physical device is representative.
Layer One Continued: macOS Coverage Without Owning a Mac
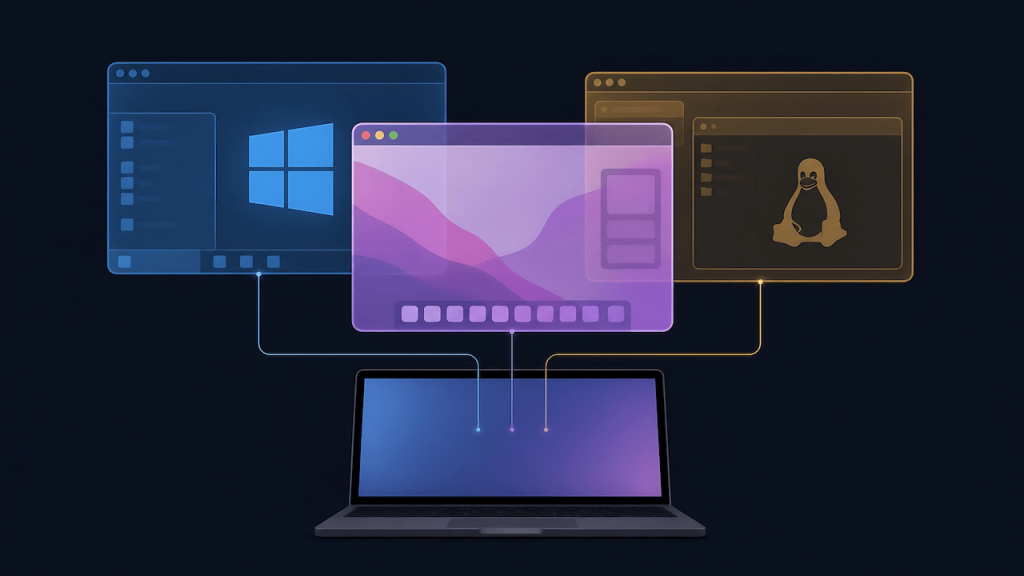
Your VM lab covers Windows and Linux cleanly with a straightforward install. macOS doesn’t work the same way, and it’s worth being upfront about why instead of glossing over it. Apple’s license only permits macOS on Apple-branded hardware, which means you can’t just spin up a macOS guest in VirtualBox the way you would Windows or Ubuntu, and that rules out embedding macOS on a generic VPS too, the license restriction doesn’t disappear just because the box is remote instead of local. Running an unlicensed macOS VM to route around it isn’t a real answer for a professional testing setup you’re putting your name on.
But a real chunk of your userbase is testing on Apple hardware, and skipping that coverage because the OS is locked down isn’t an option either. The workaround isn’t emulating macOS, it’s identifying what actually causes most Mac-specific bugs and covering that piece directly, without needing the OS itself.
For web and app QA, that’s almost always Safari and WebKit, not the OS shell around it. Playwright ships the real WebKit rendering engine, the same one Apple uses, compiled to run on Linux and Windows. Inside any VM already in your lab, npx playwright install webkit pulls the binary, and npx playwright test --project=webkit runs your suite against it directly. This is the actual engine, not a lookalike, so the font rendering quirks, layout differences, and JS engine behavior that cause “broken on Safari” bugs show up here too. Most QAs already have Playwright running for Chromium and Firefox, so this is pointing an existing tool at a third engine, not adopting something new.
For a second, independent check, GNOME Web, also called Epiphany, runs on WebKitGTK, a separate legitimate open source WebKit port, installable in any Linux VM with sudo apt install epiphany-browser. It’s useful for confirming whether a result is Safari-specific or a broader WebKit pattern before you flag it as a bug.
For the rare case where you need real macOS system behavior, not just WebKit, AWS EC2 Mac instances are the legitimate route, and they’re worth knowing about specifically if you’re already running the VPS overflow setup covered below. These are real Mac mini hardware sitting in AWS data centers, rented by the hour, which is exactly why they’re legal where a VPS-hosted macOS VM wouldn’t be. The catch is a 24-hour minimum tenancy since it’s dedicated physical hardware, not something you spin up for ten minutes, so this is a book-a-day-when-you-need-it tool, not a casual per-test option. If you’re already on AWS for other overflow testing, adding a Mac instance extends an account you already have rather than onboarding a new vendor like MacStadium just for occasional checks. BrowserStack and LambdaTest free tiers cover the smaller, occasional spot-check version of the same need without touching AWS billing at all.
None of this claims to be macOS on hardware that isn’t Apple’s. It’s coverage for the part of macOS that actually produces most of the bugs you’re testing for, using real engines where you can self-host, and real Apple hardware, rented rather than owned, when you genuinely need the full system.
Layer Two: Automation on Top of the Lab
Install Node inside each VM snapshot, not just on the host, then run npm init playwright@latest from inside that VM and point the baseURL in the config at your app under test. Running the automation from inside the actual OS snapshot, not just from the host pointed outward, is what exercises real OS-level differences instead of just browser-engine differences. Selenium follows the same pattern if that’s your framework, WebDriver installed inside the VM, tests executed from there, snapshot reverted before the next run.
k6 doesn’t need OS variation the way UI automation does, since it’s hitting API endpoints directly rather than rendering anything. Running it from a Linux VM or WSL keeps your load test results consistent regardless of what host you’re on that week, which matters if you’re comparing numbers across sessions months apart. This is also where a resource-constrained or older issued machine changes your math directly, since running 2 to 3 VMs alongside an automation suite takes more planning on an aging laptop than on a fresh one, and that’s worth accounting for honestly rather than assuming everyone’s starting from a modern rig.
When local resources are the actual bottleneck, a cheap VPS is overflow capacity, not a hack. AWS’s free tier includes EC2 hours for new accounts, enough to run one small instance continuously at no cost for a period, though the exact terms have shifted over time so it’s worth checking current eligibility when you sign up rather than assuming a fixed number. DigitalOcean, Linode, and Hetzner offer the paid equivalent for a few dollars a month if you’re past free tier eligibility. Either way, it’s a remote Linux or Windows target for heavier automation runs, a k6 target that doesn’t compete with your host for RAM, or a scenario you’d rather spin up and destroy than maintain as a permanent local snapshot. It looks like an odd extra step until it’s the thing that saved a test run your own machine couldn’t handle, at which point it stops being weird and becomes part of how you work.
An edge function sitting on a service like Cloudflare Workers can sit on top of this as a trigger rather than a test target, it’s serverless compute, not a place to run your VM or host an OS, but it’s a reasonable way to fire off an automation run automatically, a scheduled check or a webhook off a client’s deploy, instead of remembering to kick it off yourself.
Layer Three: Hybrid and AI-Assisted Testing
This is the layer most QA environment content skips entirely. Install Ollama on your host machine, then pull a model with ollama run llama3 from a terminal, which downloads it once and runs it fully offline from then on. If you’re on Windows and want it running as a proper local service instead of a terminal window you have to babysit, I’ve walked through the Ollama and LiteLLM setup on Windows in more detail. For picking a model that actually fits your hardware instead of guessing and running out of RAM mid-session, this breakdown of local AI models by GPU will save you some trial and error.
Once it’s running, point a chat interface at it, Open WebUI is the common choice if you want something browser-based rather than living in a terminal. From there, the actual QA workflow is simple: export the log output or reproduction steps from your VM session as a text file, paste it into your local chat interface, and ask it to draft the test case or bug report structure for you to edit. You can take this further with structured AI prompt workflows built for QA rather than freestyle prompting, and pair it with grep and awk for the actual log analysis before anything gets handed to the model. If your test target includes AI-generated code, the same lab doubles as the place to run testing on AI-generated code inside a hybrid workflow.
Nothing leaves your machine in this setup because the model is running on localhost, not calling out to an API. I go deeper on why that holds up against cloud tools in Ollama vs GPT4All vs local LLMs and in what running AI locally actually looks like on real hardware, not marketing claims. For a solo or freelance QA handling client data under confidentiality terms, that local-only setup isn’t a nice-to-have. It’s often the only way AI assistance is usable on client work at all, since piping a client’s logs into a cloud LLM isn’t always an option you’re allowed to take.
Where Cloud Tools Still Earn Their Place
None of this is an argument against cloud device grids. They’re the right call once you hit a ceiling your own lab genuinely can’t clear, obscure Android hardware quirks, or scale beyond what one machine can run. The difference is using them as a graduation point once you’ve hit a real limit, not as the default answer to a problem your own hardware could have solved from day one.
The Payoff Is Bigger Than Coverage
A layered QA testing environment setup like this does more than close coverage gaps. It’s what makes solo and freelance QA work credible in the first place. Owning your full stack, hardware, VM lab, automation, and AI-assist together, is the difference between being interchangeable headcount and being a tester whose environment is part of the value you bring to a retainer.